Create PDF files for DREAMCOMPOSER®
DREAMCOMPOSER® works with PDF files that are interpreted by the software to apply enhancements to specific projects. The software can work with any PDF, regardless of the export software. To achieve the best results with DREAMCOMPOSER®, you should adhere to the following settings for your PDF files:
- Use layers or color channels: Separate each finishing effect using layers or color channels
- Export with embedded layers/channels: Export any layout with layers/channels embedded in the PDF
- Handling overprinted foil: If you have an overprinted transfer product, separate the overprinted parts from the 4C (four-color) channel
- Die-cutting layers: Use terms such as ‘cut’, ‘crease’ or ‘folding’ to specify the purpose of the die-cutting layers
- Layer order for visibility: Arrange the layers carefully to ensure visibility and build them up from the 4C base
Setting up the file
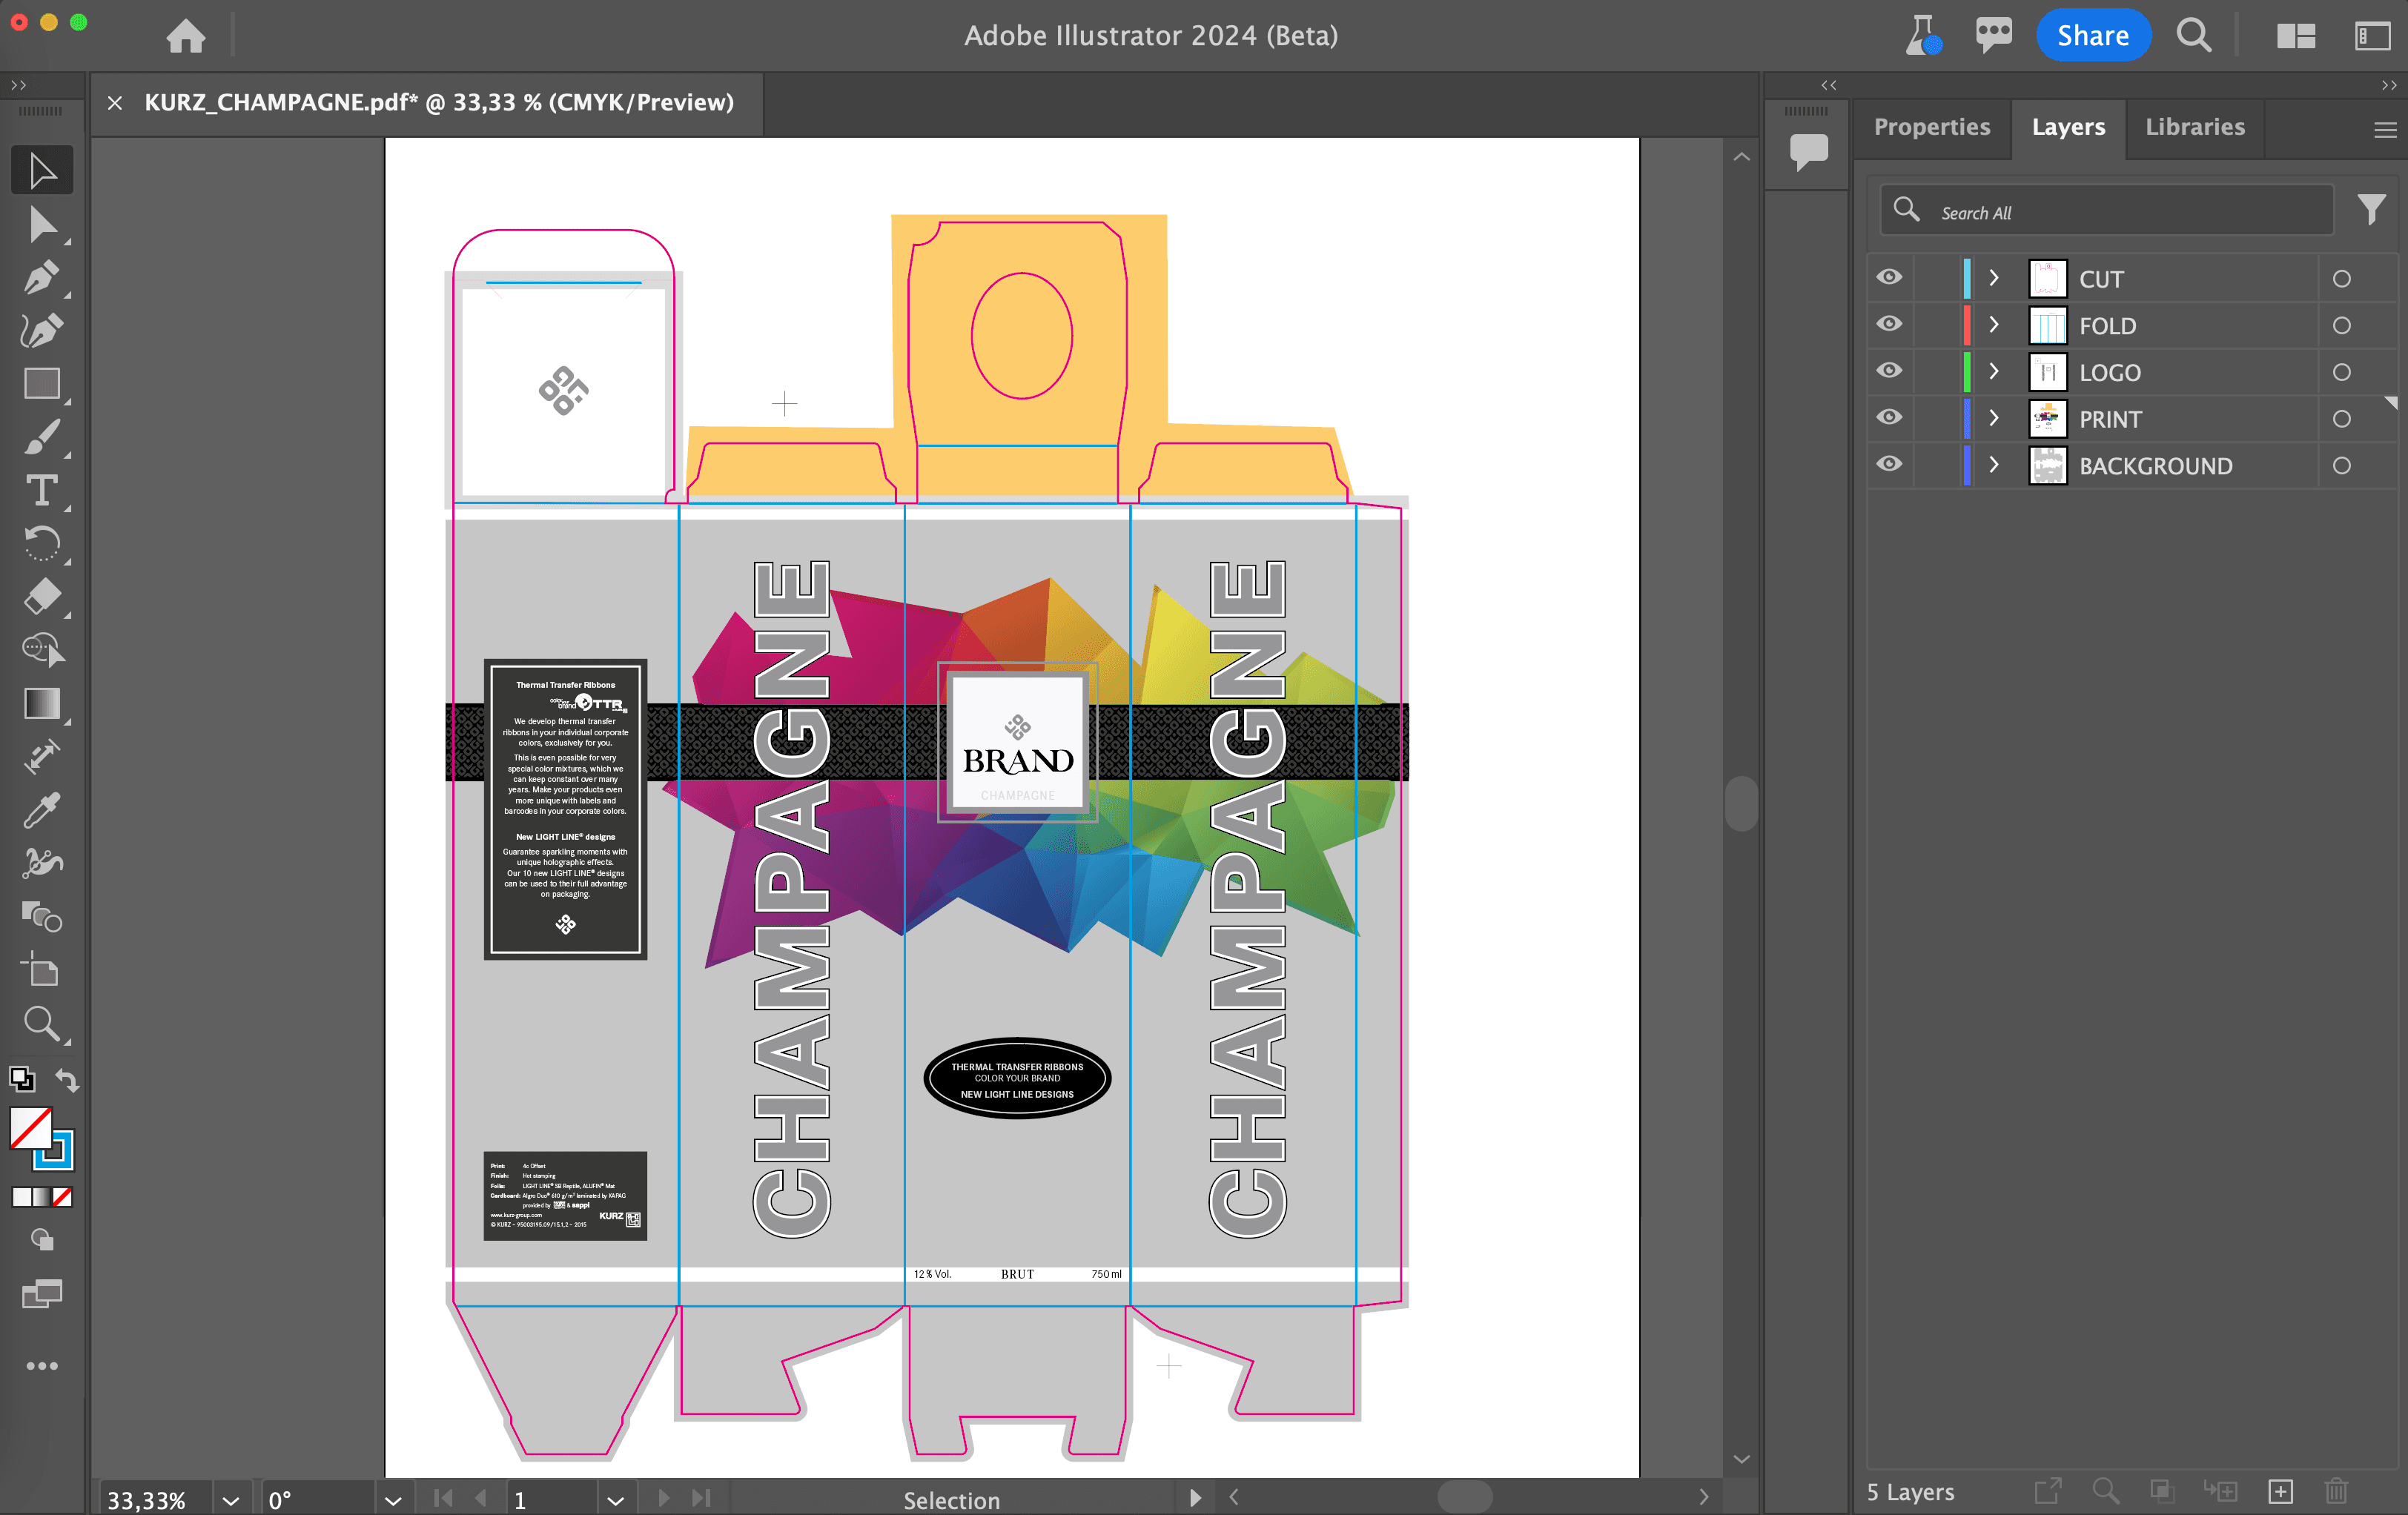
Whether you use a workflow based on spot color/channels or layers, the design software should export the design in PDF format. In this example we use a workflow based on layers. Create separate layers for CUT ❶ and FOLDING ❷ to represent punch lines and fold lines. If fold lines are not required for the design (e.g. for labels), omit the fold layer.
Each finish, including varnishes, should have its own layer or channel. In the example above,
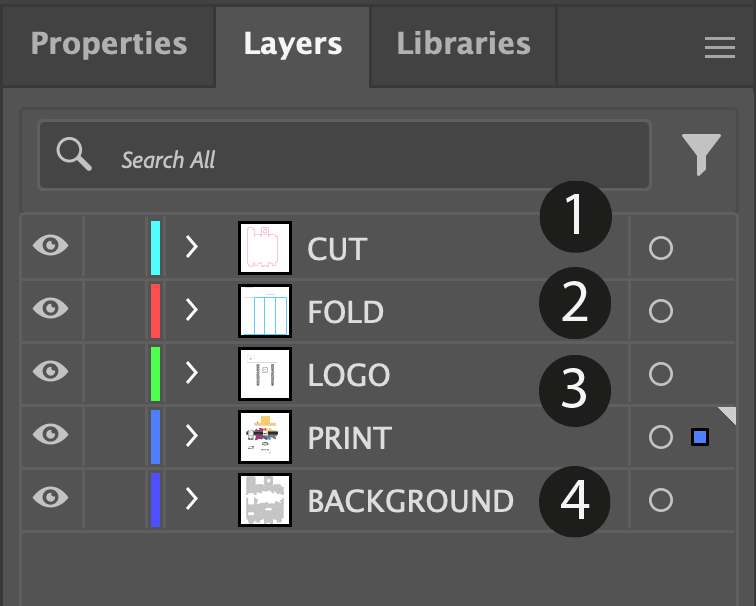
there are separate layers for LOGO ❸ and BACKGROUND ❹, which can be refined/embossed later.
For individual reliefs/embossing, use a grayscale image in the layer/channel. In the grayscale image, black corresponds to the substrate level. The different lighter shades of gray up to white correspond to different depths of the relief.

Remember to finalize the design file as much as possible. Smaller file sizes lead to faster DREAMCOMPOSER® performance.
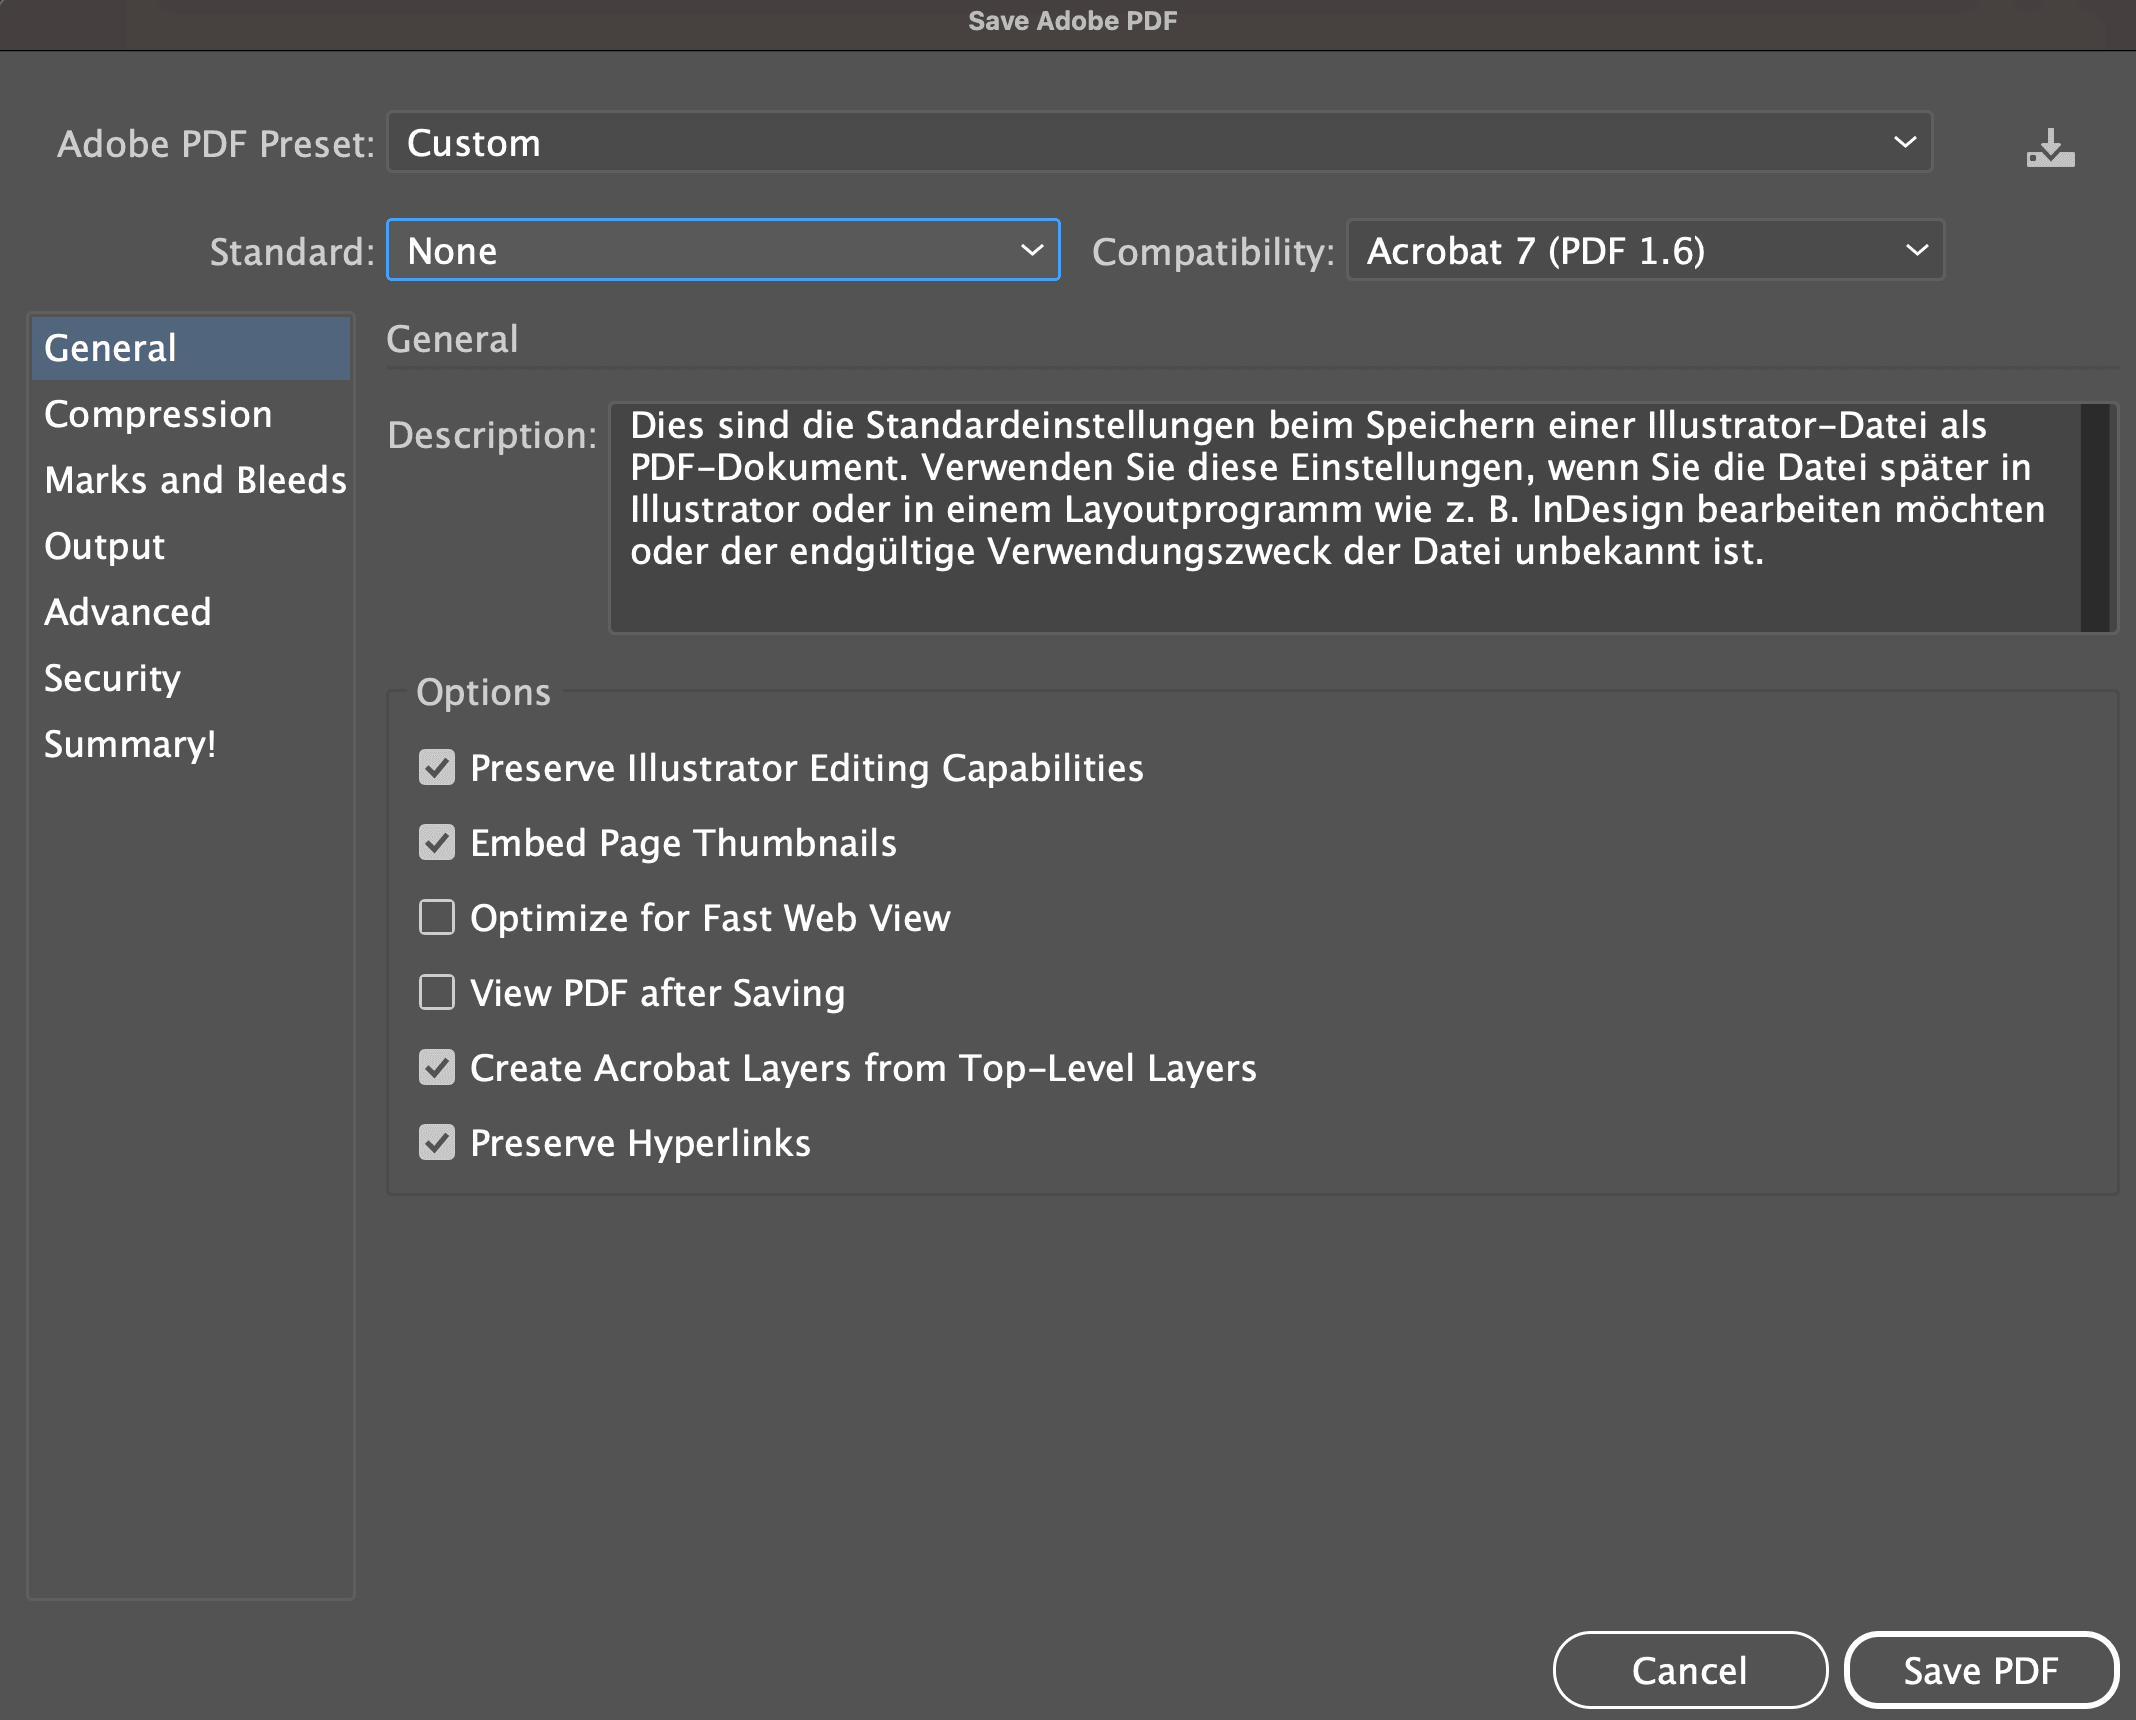
When saving the design, make sure that you export your file as a PDF. In the case of Adobe Illustrator, use the export compatibility of PDF 1.6 or higher.